Master Stencil Like a Pro: Your Comprehensive Guide to Dominating AI Design
Ever wondered how to make your designs pop without being a design pro? Welcome to your secret weapon: Stencil, the AI design tool that’s changing the game. Whether you’re designing for work, your next big marketing campaign, or just want to add some flair to your online posts, Stencil makes it easy and fun. In this easy-to-follow guide, we’ll show you step by step how to use this tool to bring your creative visions to life. Ready to unleash your inner artist? Let’s get started with this game-changing tool!
Step 1: Sign Up and Set Up Your Account
First things first, head over to the Stencil website and sign up. You can choose from various subscription plans tailored to fit different needs and budgets. Once you’ve selected a plan, set up your account by filling in the necessary details. Don’t forget to confirm your email address to activate your account fully.
Step 2: Familiarize Yourself with the Dashboard
Upon logging in, take some time to explore the Stencil dashboard. This is where all the magic happens. The dashboard is user-friendly and designed to help you navigate through the tool’s features effortlessly. You’ll find options to create new projects, access previous designs, explore templates, and more. Familiarizing yourself with the layout will streamline your design process.
Step 3: Select a Template or Start from Scratch
Stencil offers a vast library of professionally designed templates, making it easy to get started on your projects. Whether you’re designing social media graphics, blog headers, or marketing materials, there’s a template for almost every need. You can also choose to start with a blank canvas if you prefer to bring your custom design vision to life.
Step 4: Customize Your Design
With your template selected or your blank canvas ready, it’s time to customize. Stencil’s AI-powered tools enable you to edit text, colors, fonts, and images with precision and ease. Use the drag-and-drop interface to add elements to your design or upload your images for a personal touch. The AI functionalities also suggest design elements and layouts based on your project’s goal, saving you time and enhancing creativity.
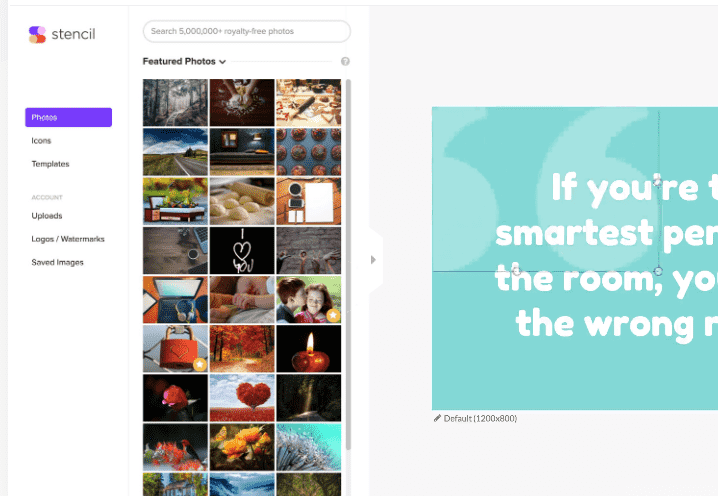
Step 5: Use the Image and Icon Libraries
One of Stencil’s standout features is its extensive library of royalty-free images and icons. You can search for specific themes or browse through categories to find the perfect visuals for your design. Adding these elements to your project is as simple as clicking or dragging them into place.
Step 6: Apply Filters and Effects
Elevate your design further by applying filters and effects. Stencil allows you to adjust image settings like brightness, contrast, and saturation. You can also apply various effects to add depth and texture to your visuals. Experiment with these features to create a unique look and feel for your design.
Step 7: Save and Export Your Design
Once you’re satisfied with your creation, it’s time to save and export. Stencil offers options to download your design in different formats, including JPG, PNG, and PDF, ensuring your project is ready for any platform or purpose. You can also save your design to your Stencil account for easy access and edits in the future.
Conclusion:
Mastering Stencil opens up a world of possibilities for your design projects. By following these steps, you’ll be able to utilize this AI design tool to its full potential, creating stunning visuals that capture attention and convey your message effectively. Whether you’re a seasoned designer or new to the digital creative space, it simplifies the design process, empowering you to bring your ideas to life with professional flair. Start exploring Stencil today and transform your design workflow!
Frequently Asked Questions